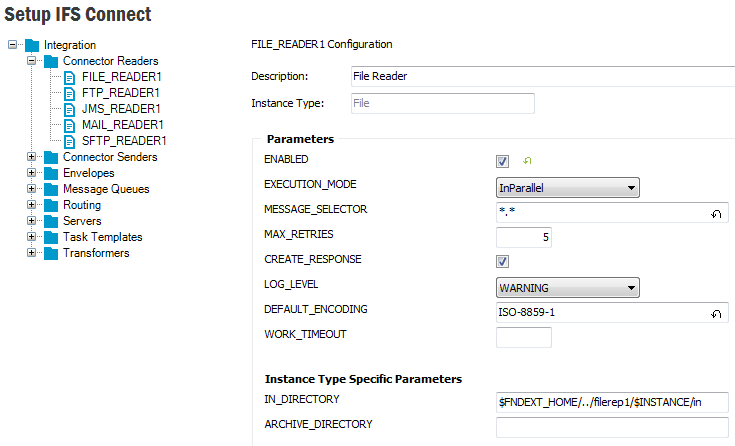
IFS Connect configuration parameters are those basic data that are defined in setting up connector readers, connector senders, etc. This page describe different types of those parameters, how those parameters can be set, how to export/import configuration data, etc.
Configuration data is structured into configuration areas, configuration groups, configuration instances and parameters of those instances. Setup IFS Connect will open up the feature that allows us to edit these connect configuration parameters.

Configuration group is a set of configuration instances. Integration area has the following groups:
Configuration instances can be divided into two main types, Static Instances and Non Static Instances. Static instances cannot be duplicated,
deleted or renamed. They will be created during system initialization. They will be indicate by
Gray color, e.g. DEFAULT queue, NOTIFICATIONS queue, ERROR queue,
J2EE_SERVER server etc.
All other non static instances can be duplicated,
renamed, removed and there can exist more than one instance of the same type.
Configuration Instances can have two types of parameters. Editable and Write Protected.
Each Write Protected parameter will be shown in Gray.
e.g. FACTORY_CLASS parameter for custom readers and senders or MEDIA_CODE for PROCESSING_ITS task template.
Help text for each parameter is given in the tool tip of the parameter value field. You can keep you mouse pointer on the parameter value field to get the help text of a parameter.
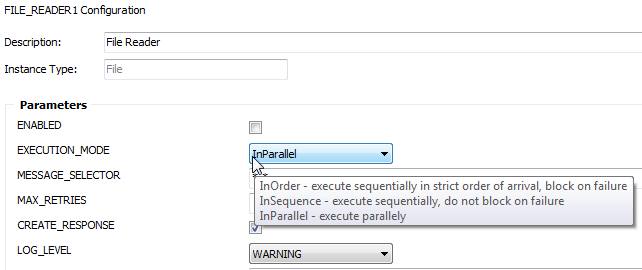
As mentioned above you can't edit Write Protected parameters. To edit other parameters of an instance select the configuration instance. When editing a parameter the instance will be marked as edited.
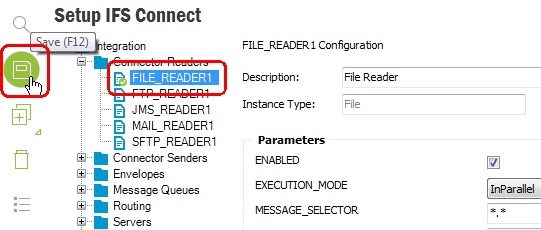
Use the Save feature toolbar button and save changes.
With exception of password fields (with values presented as a series of star
characters) and binary parameters, all other parameters can have their default
values (which can be null). If a value of a particular parameter differ from its
default, an icon
![]() will be shown to the right of the field. Pressing the icon will change the value
to default and the icon will disappear.
will be shown to the right of the field. Pressing the icon will change the value
to default and the icon will disappear.
For Envelopes and Transformers it is possible to import/export
the envelope or transformer file as binary data. You can import a new file as binary or export a saved binary file
to the disk.
To import:
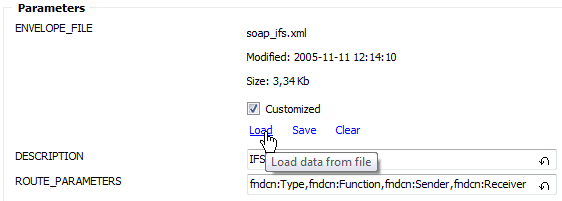
Load link will open up a file dialogue allowing you to select the file to load as the
configuration parameters binary data.
To export:
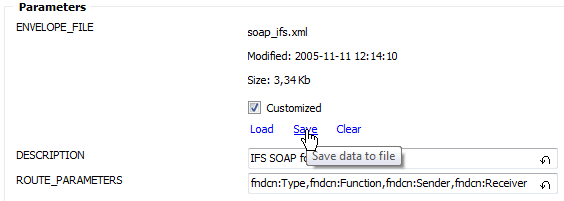
Save link will open up a file dialogue which allows you to save the binary data in the parameter as a file.
Furthermore binary parameters are flagged with a check box labeled
Customized. Many transformers and envelopes are supplied by IFS. An
unmodified transformer or envelope has its Customized flag
unchecked, which makes it possible to override it with a new version on system
upgrade on patch delivery. But transformers and envelopes can be modified by the
customer. In such case it is probably not eligible to override the value.
Therefore the Customized flag is automatically set on any
modification preventing the value from being update.
It is however possible to toggle the flag. It can be done manually when the check box modification is the only change performed on a binary value on a single save, i.e. no other data has to be modified at the same time, otherwise the flag will be automatically set again.
Note:
On upgrade from IFS Applications 9 or earlier, where the
Customized flag was not present, the flag for all binary values is
remained unset making it possible to update even modified values. This is
because of backward compatibility. It
is impossible to determinate if a value has been customized or not, but the
installation/upgrade process in earlier versions of IFS Applications
has always overridden the current value. For
customized values the flag has to be set manually to prevent them
from being overridden.
Task Templates and Servers nodes contain parameters with data shown in a grid.
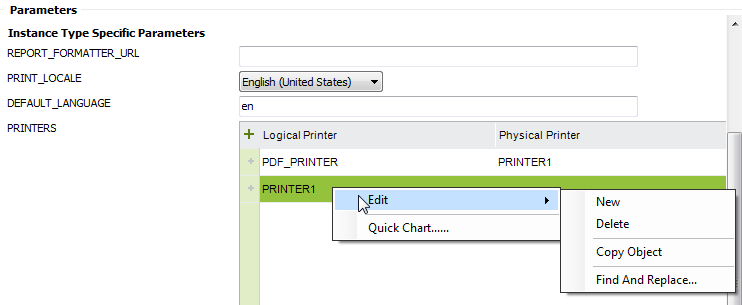
You can add and delete rows in the grid and modifie values. Some grid columns can present list of available values in a drop-down list.
To create a new instance select a group item or a particular instance and
press the New feature toolbar button or choose New from the
RMB menu. A dialog box will appear:
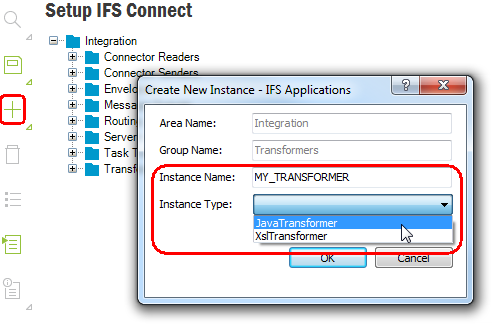
Area Name and Group Name are filled in depending on the focused
item when selecting New. Just enter the instance name and choose an
instance type from the drop down list. The list is populated with all possible
instance types available for the actual group. Press OK and the new
instance with default values of all parameters will be created for you. Just
edit the necessary parameters and save the instance.
New configuration instances can also be created by duplicating existing ones. To duplicate an
instance select the instance first and use either RMB Duplicate
or Duplicate feature toolbar button.
Note:
You cannot duplicate static configurations like ERROR, NOTIFICATIONS, TRASHCAN in Message Queues.
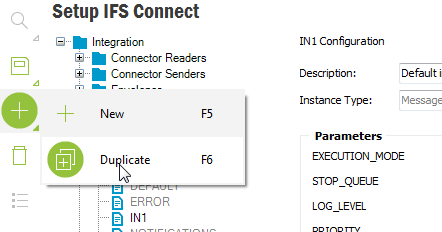
Rename the duplicated instance, edit the parameters there and save by clicking the Save feature toolbar button to create the new instance.
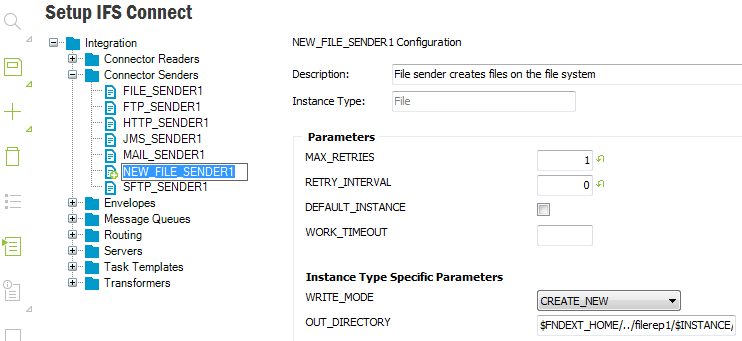
To remove a configuration, select the instance and click Delete feature tool bar
button. The item will be marked as removed. Use the Save feature toolbar button to commit
removal.
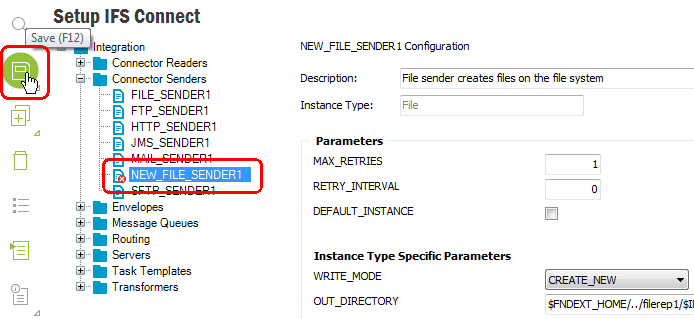
Note: Static configuration instances are not possible to remove.
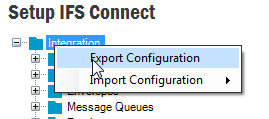
To export a configuration area, select Export Configuration
from RMB menu on the area level. The result will be saved in XML format.
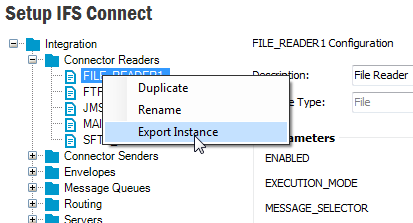
To export a configuration instance, select the required instance and use
RMB Export Instance. In the Save Configuration
dialog you can choose file type, which can be either XML or INS. Exported XML
files can be imported using the Setup IFS Connect feature, while the INS
files can be used during the database installation procedure.
To import an XML file with configuration data, use RMB Import Configuration at
configuration area level, e.g. Integration, of the
configuration tree. You can import an XML file containing the entire Area or
a single instance. The menu has three sub-menus that affect how the import is
performed:
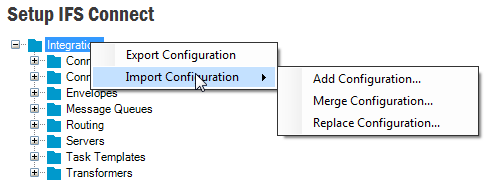
_COPY.Depending on the mode above parameters can be overridden with exception of read-only parameters. Parameters with empty values or values equal default will be removed and will get their default values from Meta data. Only parameters with the Meta data defined will be processed, all other parameters will be ignored.
The import will not automatically save the changes, so it is possible to examine all the changes before deciding to save the data or not.
Note: The import functionality has a limited backward compatibility with export files created by previous versions of IFS Applications. Only files containing single instances of transformers, envelopes or message queues are supported.