This section describes how ISD 2 supports the process of merging a patch or a customization.
Customer information file (cifx) and Harvest Extractor file (hewx) file should be generated from LCS.
Step 1: Open cifx file and hewx file in same ISD session.
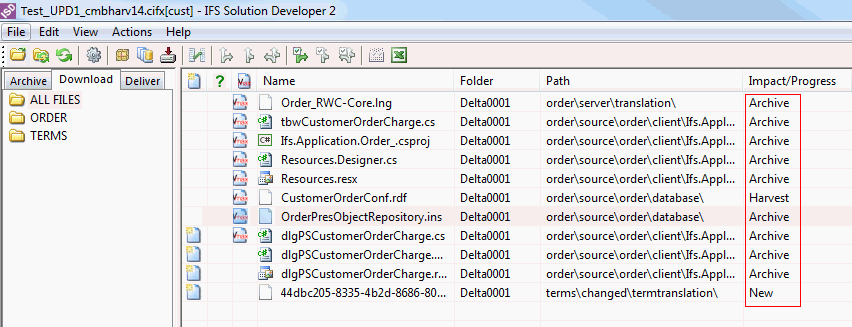
Observe the Impact/Progress column to identify the current state of the file.

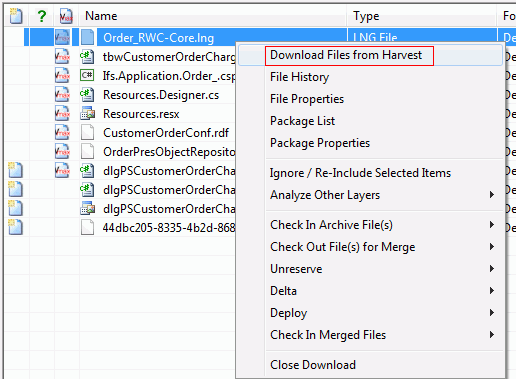
Step 2: Download the files (Download button
![]() or RMB> Download Files from Harvest).
or RMB> Download Files from Harvest).
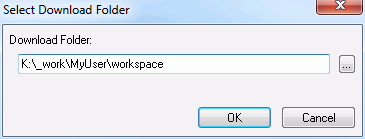
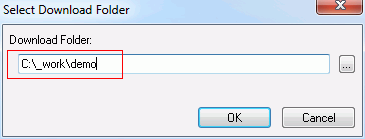
Following dialog will suggest you to download the files to Work Folder.
Step 3: Set to ignore if there are files that need not to be merged. (RMB> Ignore/Re-Include Selected Items)
Impact/Progress column will be set to Ignored. Its possible to continue the merge process only with the remaining files.
Step 4: Check in archive files (RMB> Check In Archive File(s), select All Files or Selected Files)
Files that are currently in archive should first be checked in to the Customer Harvest environment before merging. Following dialog will suggest a default harvest package to check in the files. If necessary the package can be automatically created by Solution Developer.
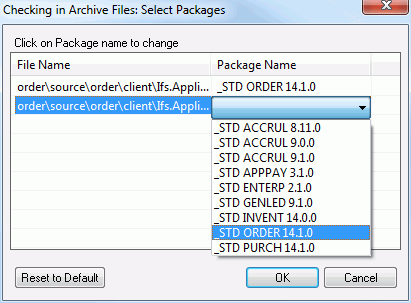
Click OK and then files will be checked in. Impact/Progress column will be set to 'Harvest'.
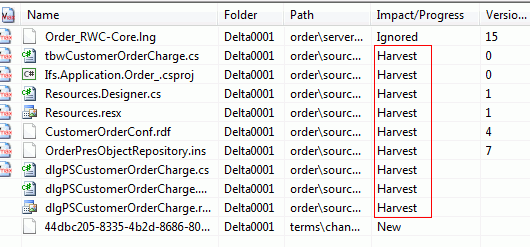
Step 5: Checkout files from customer harvest for merge (RMB> Check Out File(s) for Merge, select All Files or Selected Files).
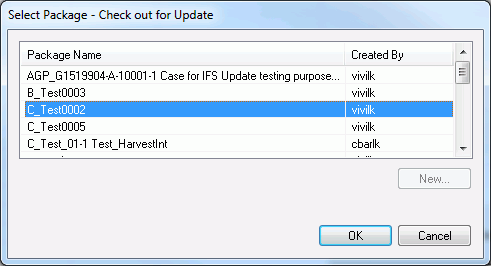
Following dialog will be shown and harvest package which is created by LCS for the merge should be selected.
Impact/Progress column will be changed to 'Ready for Merge'.
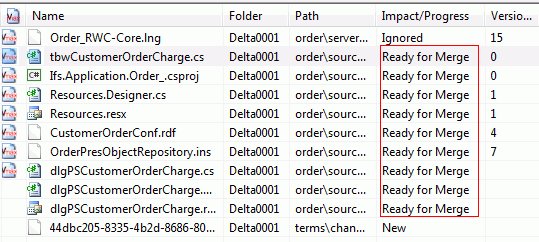
Step 5: Merge using Delta Engine (RMB> Delta> Extract/Apply, select All Files or Selected Files).
Delta Engine will Extract differences for all (or selected) files in the patch, except the Ignored files, and apply those differences to the files that are checked out from customer harvest. Delta Engine will typically show a Merged Output or Manual Mode windows where you confirm the applied changes and as necessary manually apply changes the Delta Engine could not automatically merge.
Impact/Progress column will now show if Delta Engine was successful. Extract&Apply detail information
will be shown in columns in right side.

Step 6: Verify whether the merged files works as expected using the relevant development tools.
Database files can be deployed using Deploy action (RMB> Deploy, select All Files or Selected Files). Deployable files will be generated before deploying to the database.
Step 7: Check in merged files (RMB> Check In Merged Files, select All Files or Selected Files).
If there were new files in the patch or customization ISD will ask whether you wish to check in the new files as well.
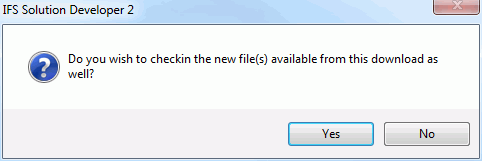
You can choose a package to check in the new files from package selection dialog. Package that were used to checkout the files for merge will be automatically selected.
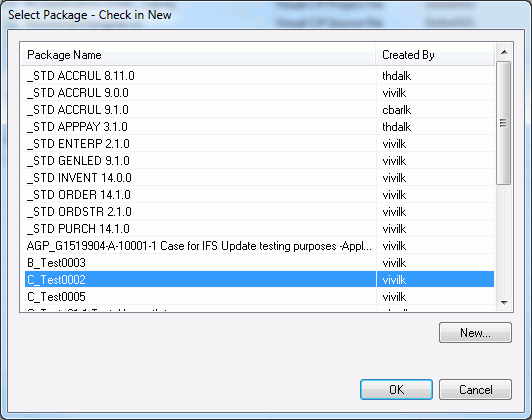
When a merged file is checked in to the harvest Impact/Progress column will be changed to Completed.
Step 7: Close the download (RMB> Close Download)
When all files are Completed (or Ignored) Solution
Developer will automatically ask if you want to close the download. As specified
above option is available as a RMB option also.
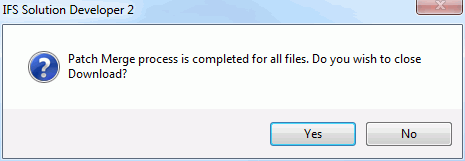
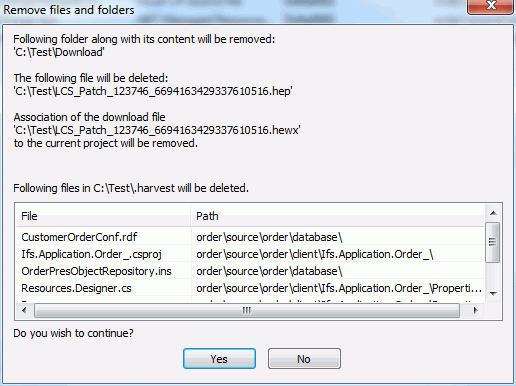
Following dialog will be shown to get the confirmation to clean up the help folders and remove the association of hewx file with the cifx file.
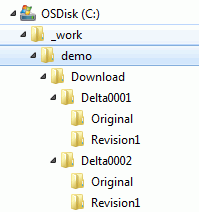
Help Folder structure shows all folders used by Solution Developer to download and merge files.
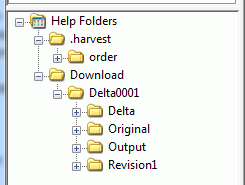
Files from the patch or customization will be downloaded to the Download folder. Delta Engine also creates temporary folders here. The .harvest folder will be used to check out the files from customer harvest and these files will be the target files where changes will be applied.
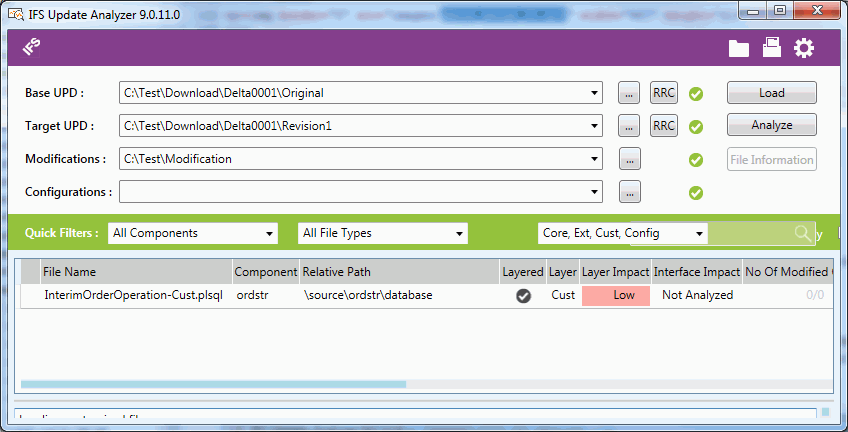
Purpose of the functionality is to analyze the impact of the changes in layered core files included in the patch on the other layers. This option will be enabled if the files downloaded, there are layered core files in the patch and there are corresponding files in Cust or Ext layer in customization harvest. When you select the option it will copy the Cust and Ext layer files to a folder called Modification created parallel to the Download folder and launch Update Analyzer tool. Update Analyzer will analyze and show the result.
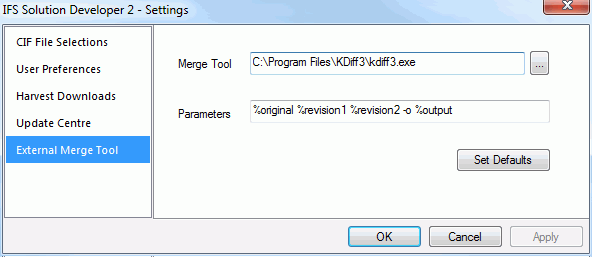
In the process described in Merging section, merging is done using Delta Engine. Alternatively you can use any merge tool of your choice to do the merge. Required external merge tool can be configured in the Settings dialog. When you select the option Open In External Merge Tool it will open the three files (Original file and Revision1 file from the patch and file checked out from customer harvest for merge) in that merge tool.
This option will merge the files if all the differences in the file can automatically be applied by Delta Engine. It will not popup the Merged Output window. Rest of the files will be skipped.
As described in Merging section, .hewx generated from LCS. Instead its possible to create a .hewx using the New Download File action. For this, the harvest broker, environment name and harvest package names should be known.
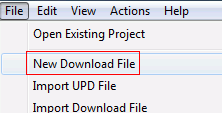
This will open New Download wizard. In first page select Download from the dropdown and click Next. In the following wizard pages harvest broker information should be filled and harvest environment and package names should be selected.

When the Download folder exist it can be loaded even if .hewx file is not available. Download folder should have the file in proper structure.
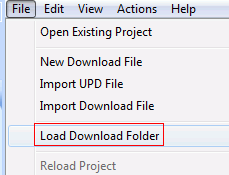
This action is used to refresh the Impact/Progress column. This can be used in following situations,
1. After doing a harvest operation to the files in the download from Archive tab (e.g. Unreserving a file)
2. After doing a harvest operation outside current ISD session (e.g. Using Harvest workbench)
3. After doing some file operation outside current ISD session.