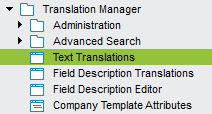
This chapter describes how to manage text translations in IFS Applications. It covers topics such as how to suggest translations and reject translations. Figure 1 shows where the Text Translations page is found in the navigator structure.

Figure 1. Text Translation page in the navigator structure
Text translations are managed in the Text Translations page. When navigating to the Text Translation page, a Search window will appear in order to filter out the relevant Prog texts, see Figure 2.
Figure 2. Search Text Translations
Figure 3. Text Translations form
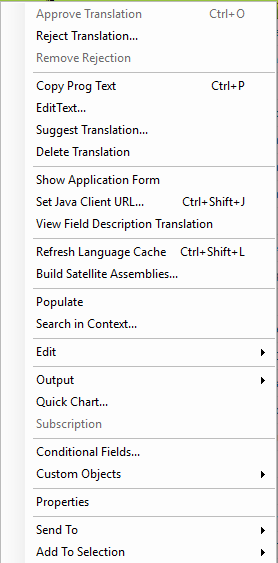
The Prog Text shows the original text which is coded into the application, this is the text that is translated. The Translation field is where the translation for the corresponding Prog Text is displayed. Right clicking on a record will open the menu in Figure 4.

Figure 4. Menu options when right clicking on a record
The menu option Approve Translation changes the translation status of the selected records to OK. To approve translations, do like this:
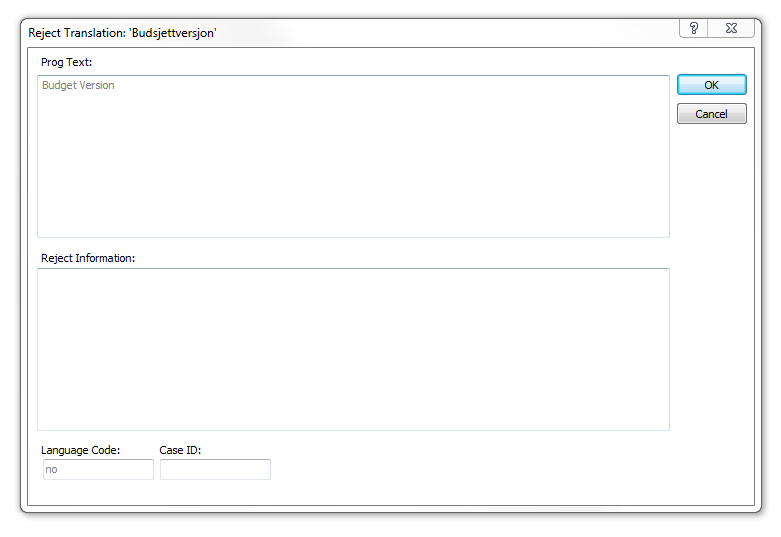
Translations can be rejected if they are evaluated to be inaccurate. A rejection is done by right clicking on the record you want to do the rejection for, this will open the Reject Translation dialog, see Figure 5. This dialog will display the Prog Text for the translation and contains the field Reject Information where information connected to the rejection should be included. If the rejection is connected to a support case, Case ID can also be added in the field below. The rejection will then be sent to the translation agency which will update their translation memory accordingly.

Figure 5. The Reject Translation dialog
Copy Prog Text sets the translation based on the Prog Text for the selected records. To copy the Prog Text, right click on relevant rows and select Copy Prog Text in the menu. This will copy the value of the Prog Text field to the Translation column. Use this function to save time typing in translations when the translations are identical to the Prog Texts.
In order to get suggestions for text translations, there is suggestion functionality available to give support in the process. It provides suggestions of translations based on previous translations of the Prog Text that you use the suggest functionality for. In order to receive suggestions, do like this:
You can use the Suggest Translation functionality for multiple rows as long as all the selected rows have the same Prog Text and Language.
Figure 6. Suggested Chinese Translations for the Prog Text "Quantity"
If you select the Show Application Form menu item, a new window will open with the form where the text is used.
Show Application Form also works for Web forms. To navigate to Web forms the URL where the web client is located needs to be specified. This is done by selecting the Set Java Client URL menu item. You only need to do this once since the path is stored in your profile. You can always change URL if needed.
To test the translations of IEE of RWC type, the process of building satellite assemblies can be used. The menu option Build Satellite Assemblies… on the text translation feature will open a dialog, see Figure 7. The dialog options are described below.
After the parameters in the dialog have been specified, click on Generate to build the satellite Assemblies for the selected DLLs.
Checking Advanced Settings will expand the dialog and display additional options related to Workspace Paths and Output Paths, see Figure 8. The advanced settings parameters are described below.
Figure 7. Build Satellite DLLs on Translate Text feature
Figure 8. Build Satellite DLLs including Advanced Settings.